
 50% off ” No coupon Required ”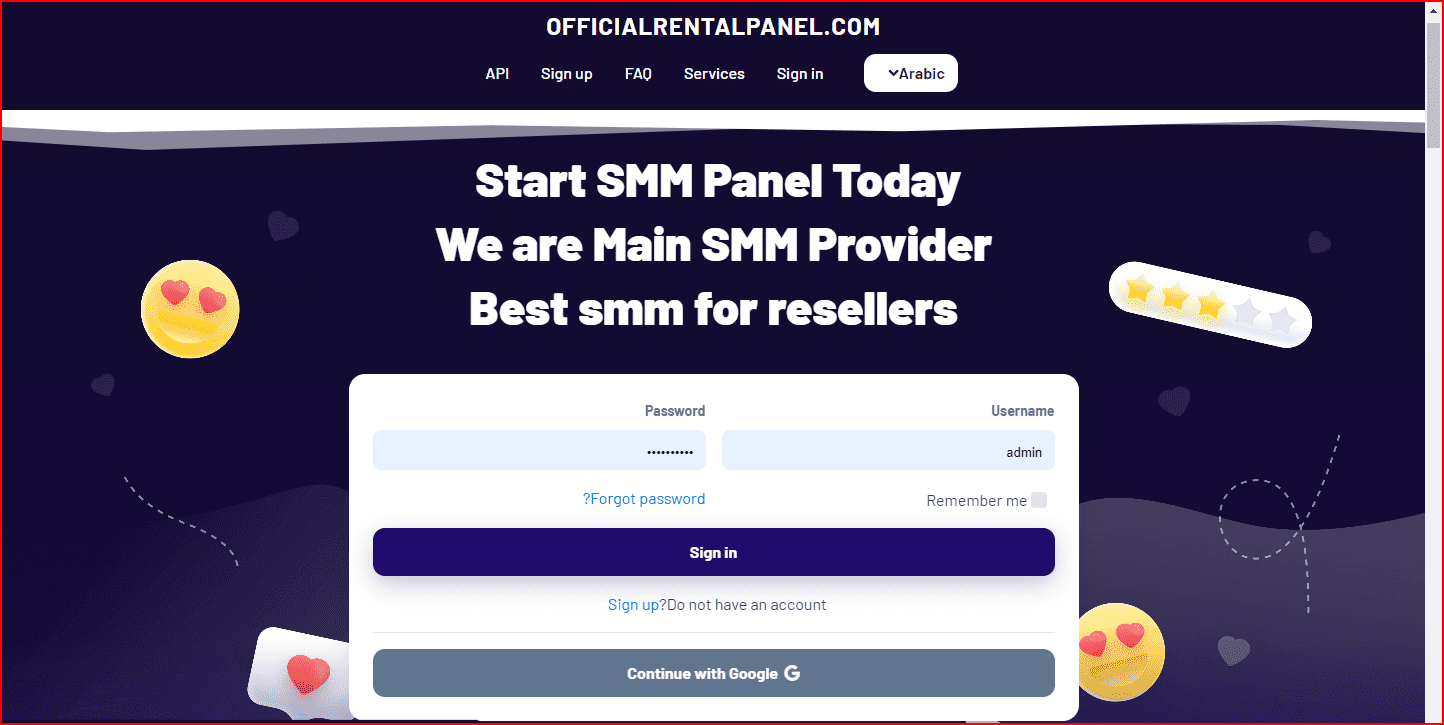
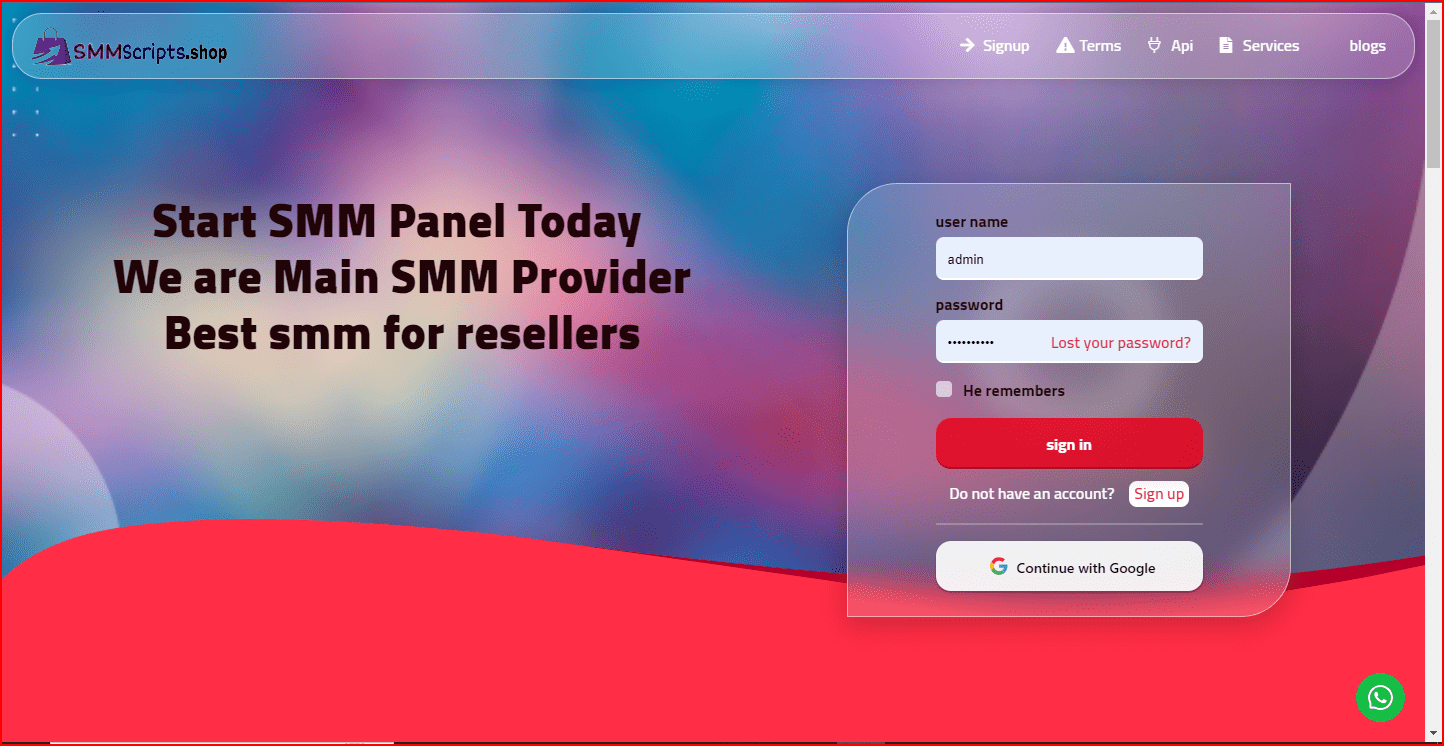
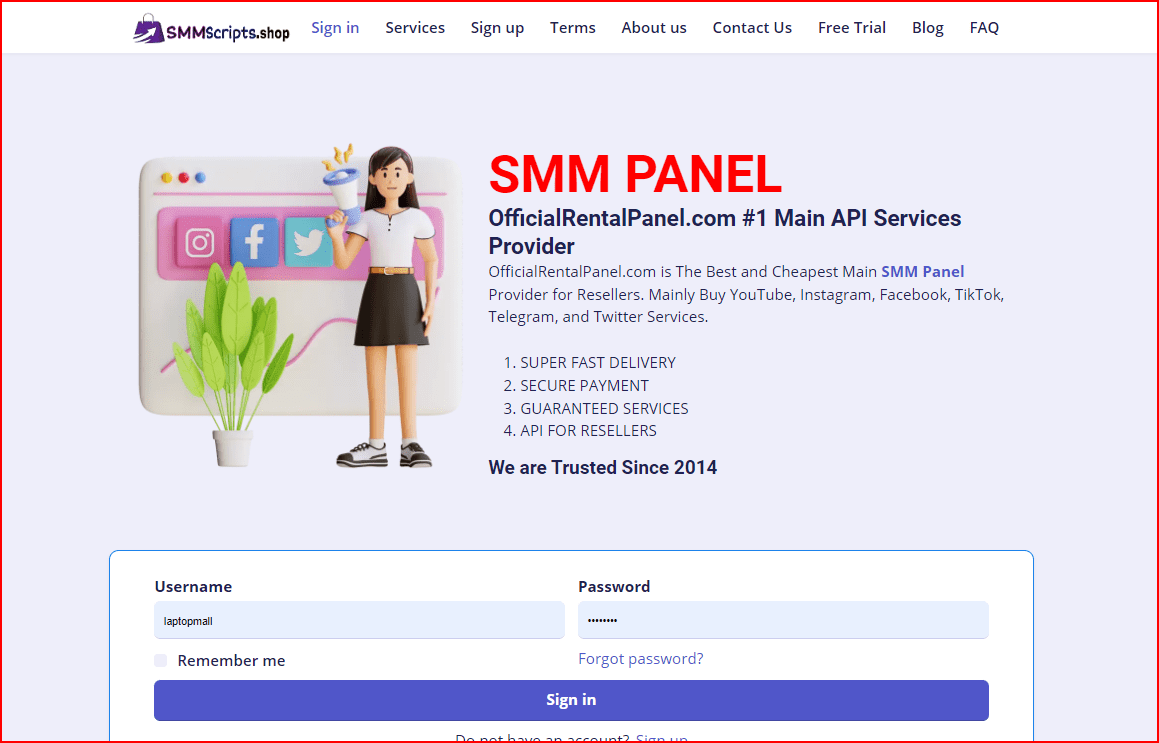
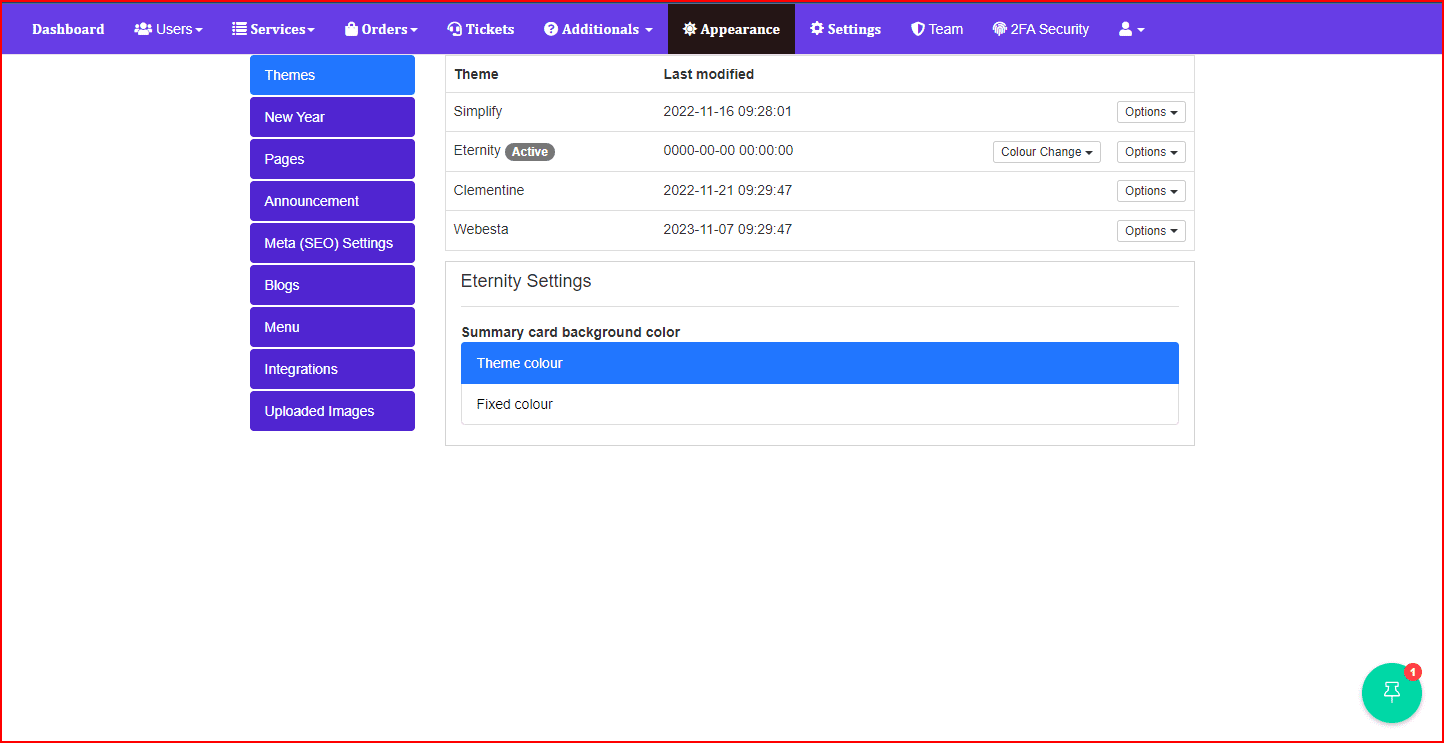
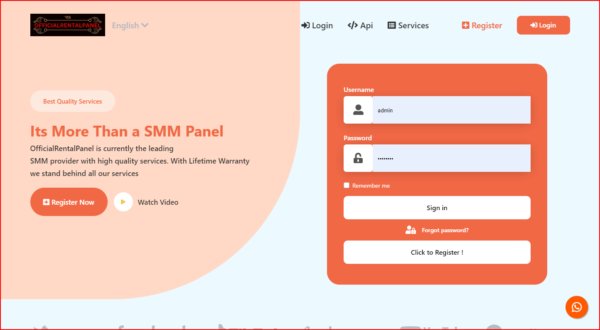

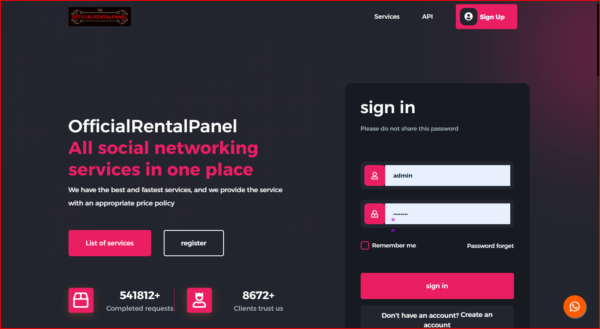
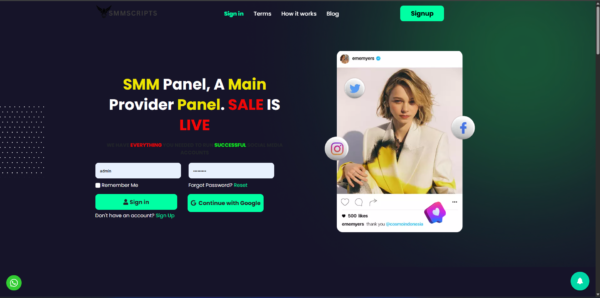
Rental panel Script – is a powerful and user-friendly platform designed for managing rental services. Whether you’re renting out products or equipment, this script allows you to create a seamless and efficient rental experience for your customers. With features like automated booking, secure payment processing, and customizable settings, the Rental Panel SMM Script is perfect for starting and growing your rental business online with ease.
Key Features
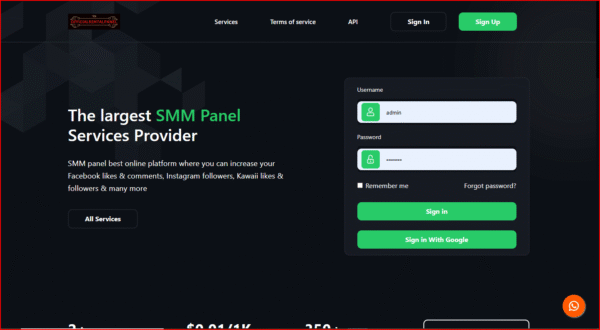
Google Login
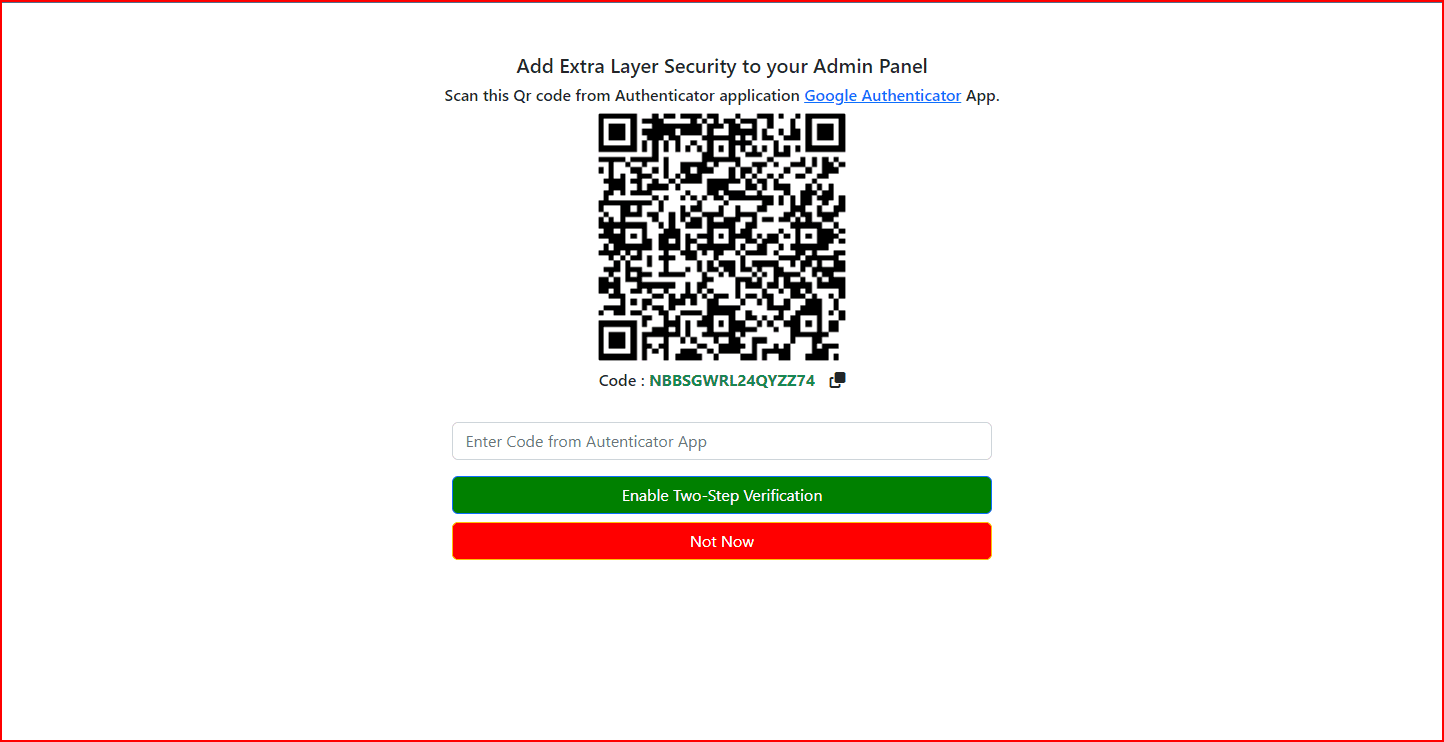
Admin Panel 2-Factor Authentication
Sync Logs
Description Fetch
Fake Orders
Special Discount
Bulk Discount
Announcements
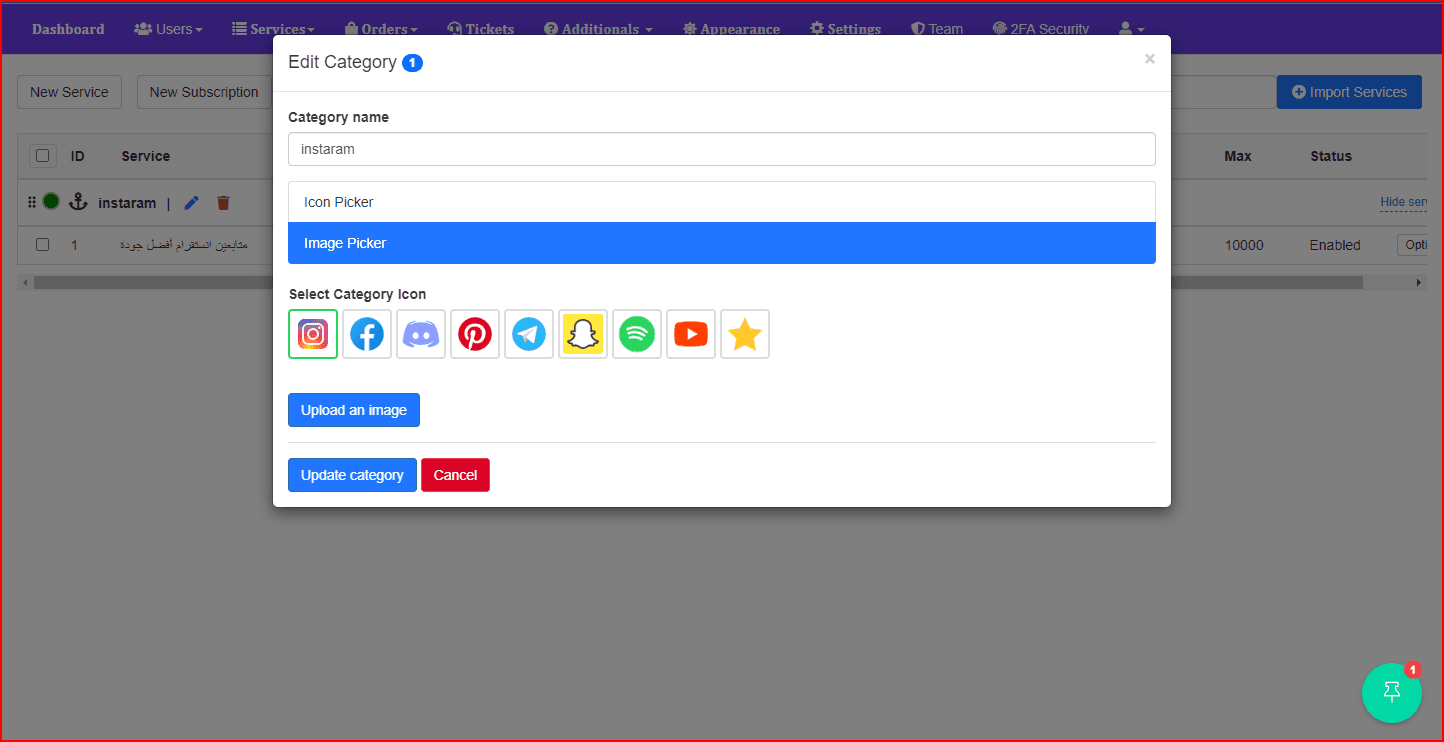
Custom Service Icon
SweetAlert Broadcast
Email Marketing
Refill Button
Cancel Button
Refer & Earn
Earnings Report
New Year Editing
Child Panel Selling
Theme Editing in Admin Panel
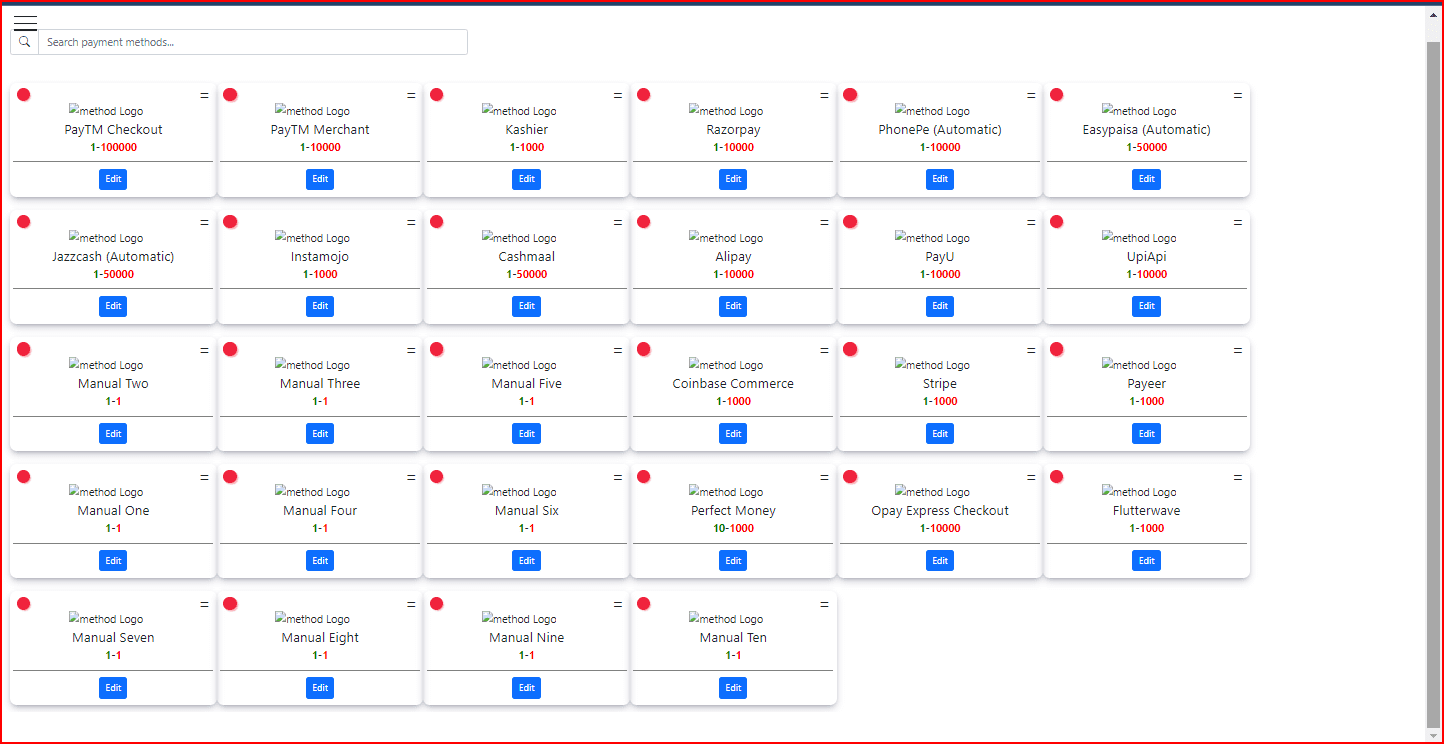
Payment Methods
Support for multiple payment methods, including:
Payeer
Perfect Money
Easypaisa
Jazzcash
Phonepe
Paytm
Paytm Business
Alipay
Opey Express
Paytr
10+ Custom Methods
Easier
Flutterwave
Instamojo
PayU
UPI Gateways
Coinbase
YouCanPay
User Panel Features
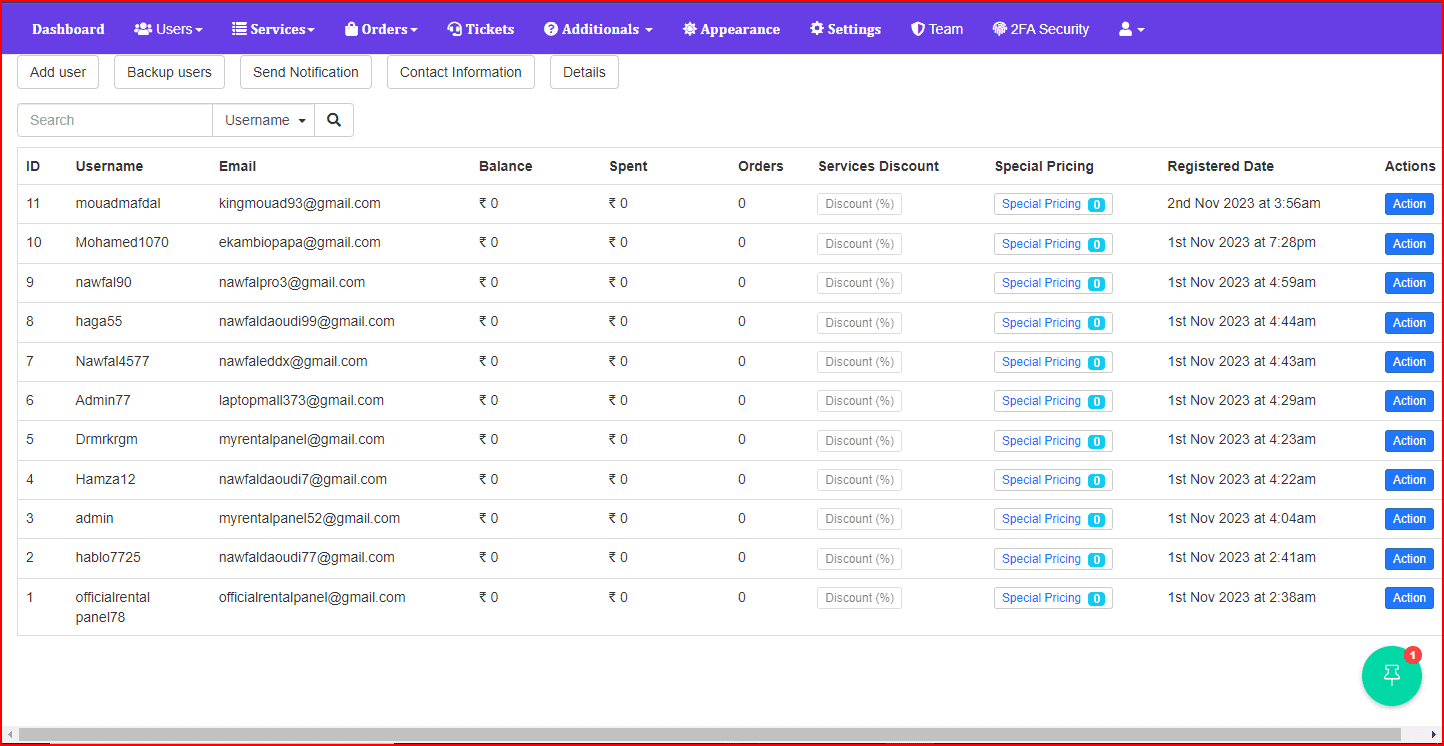
Superb User Panel: Easy-to-use interface for customers to place orders.
Efficient Order Processing: Connect multiple APIs for automated order processing.
User API: Allow other panels to use your panel as a provider.
Import & Sync: Import and sync services from providers.
Profit Reports: Easily track your profits.
Affiliate System: Partner program to grow your customer base.
Auto-Refill Button: Automatically refill orders when activated.
Average Time: Track the average order processing time.
Admin Panel Features
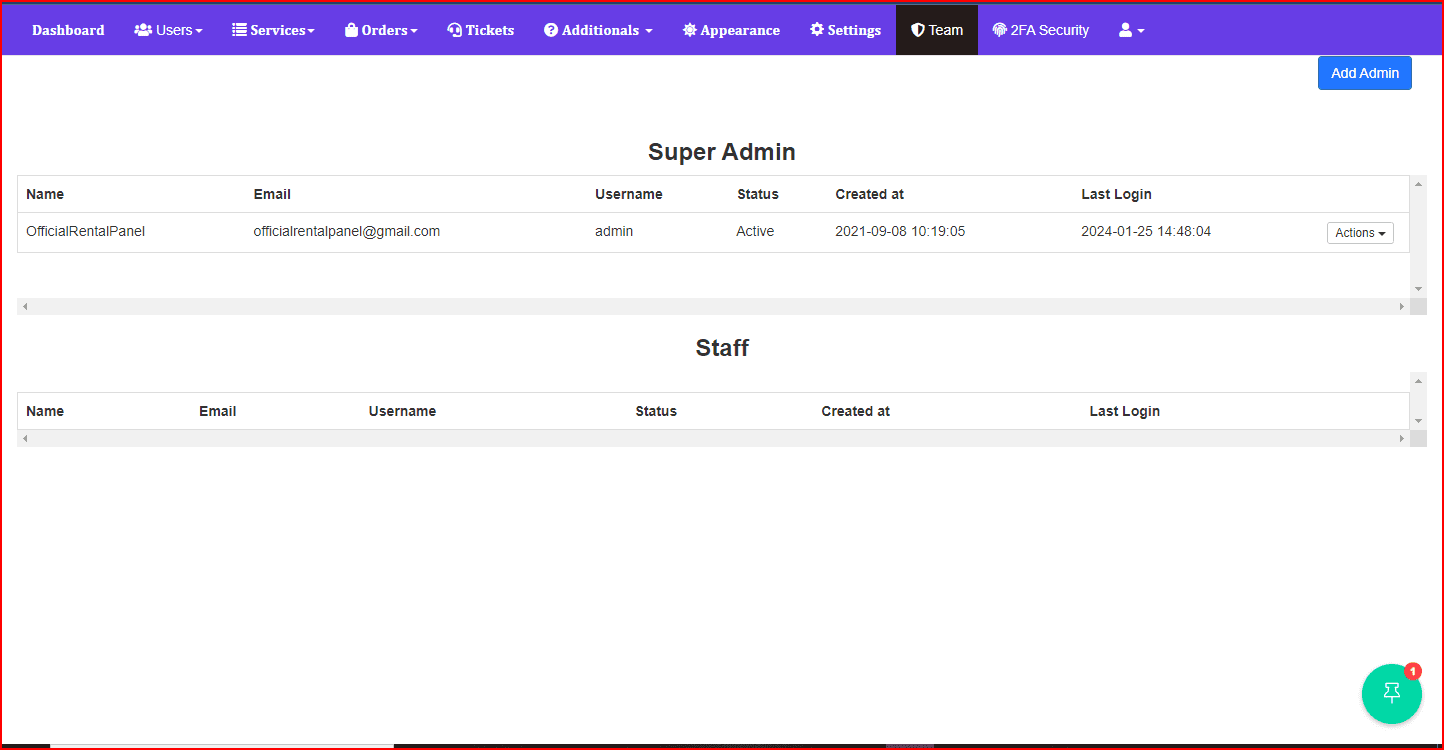
Powerful Admin Panel: Full control over your business.
Subscriptions: Auto likes, auto views, auto retweets, etc.
BLOG System: Create posts to help rank your panel faster.
Child Panels: Set up cheap panels for customers.
User Management: Manage users, their funds, and activities.
Order Management: Monitor and process customer orders.
SEO Optimization: Optimize meta tags, descriptions, and keywords.
Multi-Language Support: Cater to a global audience with multi-language support.
Secure Password Hashing: Keep user data secure with advanced encryption.
Additional Features
Service Import via API
Add Unlimited Categories and Services
Custom Rate Per User
Maintenance Mode Support
Support Systems
FAQ Systems
Tickets System: Track support tickets between users and admins.
Funds Management: Users can add funds, and admins can manage accounts.
Google ReCaptcha: Protect your pages with Google ReCaptcha.
Dynamic Pre-built Pages: Automatically generate pages like FAQs, Terms, Privacy, etc.
Embed Code Feature: Embed JavaScript code for integration.
Other Exciting Features
User Backup Option
User Activity Logs
Customizable Website Settings: Configure logo, icon, etc.
Automatic Timezone Detection
5 Themes
And Many More…
Installation ProcessInstallation Process for Rental Panel Official Script
To get your Rental Panel Official Script up and running, follow these steps. The process includes configuring the script, uploading files, creating a database, and importing the SQL file.
- Server Requirements
Ensure that your server meets the following requirements:
PHP: Version 7.4 or higher
Database: MySQL 5.6+ or MariaDB
Web Server: Apache or NGINX (recommended)
Required PHP Extensions:
OpenSSL
PDO
Mbstring
Tokenizer
XML
GD
cURL
Fileinfo
BCMath
Zip
- Upload Script Files
Unzip the Downloaded Files:
Unzip the Rental Panel Official Script package you’ve downloaded.
Upload Files to Server:
Upload the extracted files to your server using an FTP client (like FileZilla) or directly through the hosting control panel (e.g., cPanel’s File Manager).
Upload the files to the public_html directory or the desired directory for the script. - Create a Database
Login to Hosting Control Panel (cPanel, Plesk, etc.).
Create a New Database:
Navigate to MySQL Database Wizard or phpMyAdmin.
Create a new database (e.g., rental_panel_db).
Create a Database User:
Create a new user and assign a secure password.
Grant the user All Privileges for the newly created database. - Configure Database Settings
Locate the Configuration File:
In the script directory, locate the config.php file. Typically, this file is found in the app/config.php folder. This is where you will add your database credentials.
Edit config.php File:
Open the config.php file and modify the database configuration section with your database details:phpCopy code ‘localhost’, // Hostname ‘DB_DATABASE’ => ‘rental_panel_db’, // Database name ‘DB_USERNAME’ => ‘your_db_user’, // Database username ‘DB_PASSWORD’ => ‘your_db_password’, // Database password ]; Replace your_db_user and your_db_password with the actual database user and password. - Import Database SQL File
Locate the SQL File:
In the script package, you will find an SQL file (e.g., rental_panel.sql). This file contains the database structure and default data for the application.
Import the SQL File:
Go to phpMyAdmin or your database management tool.
Select the newly created database (rental_panel_db).
Click on the Import tab and choose the rental_panel.sql file.
Click Go to import the database structure and data. - Set File Permissions
Make Certain Folders Writable:
Ensure that the following directories are writable by the web server:
storage/
bootstrap/cache/
Set Permissions:
You can set the permissions using the following command:bashCopy codechmod -R 775 storage bootstrap/cache - Run the Installation Script
Access the Installation Page:
Open your browser and visit the URL where the script is installed, e.g., https://yourdomain.com.
Follow the Setup Instructions:
The installation page will prompt you to configure your website settings (e.g., name, logo, email).
Set up the Admin Panel login credentials.
Complete the installation by following the instructions. - Configure Additional Settings
Payment Gateways:
After the installation, configure the supported payment gateways (e.g., Payeer, Perfect Money, Paytm) from the Admin Panel.
Customize Themes:
You can customize the theme and logo of the platform directly from the Admin Panel.
Test the System:
Create a test account and place an order to ensure everything is working properly.
Check the Admin Panel to ensure that orders are being processed and payments are correctly handled. - Cron Jobs (Optional)
If required, set up cron jobs to automate specific tasks like sending emails or generating reports.
Example cron job command for Laravel:
bashCopy code* * * * * php /path-to-your-project/artisan schedule:run >> /dev/null 2>&1
- Secure the Installation
Enable SSL:
Ensure you have an SSL certificate installed for secure HTTPS access.
Set Up Backup:
Regularly back up your database and script files to prevent data loss.
Folder Structure Overview
The folder structure of the Rental Panel Official Script is as follows:
luaCopy code/public_html
├── /app
├── /config.php <– Configuration file (Database settings)
├── /Controllers <– PHP files for handling business logic
├── /Models <– Database models
├── /Views <– HTML/Twig files for front-end
├── /crons <– File storage (must be writable)
├── /admin <– Cache files (must be writable)
├── /public <– Public files (JS, CSS, images)
├── /lib <– Views and assets
├── /vendor <– Web routes
├── /database <– Database migrations
├── /composer.json <– Composer dependencies
v


Reviews
There are no reviews yet.